The Ultimate Guide to Connecting an HDMI Cable to a MacBook Using USB-C to HDMI
In today’s digital age, MacBooks are a popular choice for professionals, students, and creatives alike, thanks to their sleek design, powerful performance, and versatile functionality. One common need among MacBook users is connecting to an external display, such as a monitor, TV, or projector. Whether it’s for expanding your workspace, giving presentations, or enjoying media on a larger screen, connecting an HDMI cable to your MacBook is a useful skill to have. However, with the shift to USB-C ports on modern MacBooks, understanding how to make this connection can be a bit confusing. In this comprehensive guide, we will walk you through everything you need to know about connecting an HDMI cable to a MacBook using a USB-C to HDMI adapter or a USB-C to HDMI cable, ensuring you can easily set up your external display.
Why USB-C to HDMI?
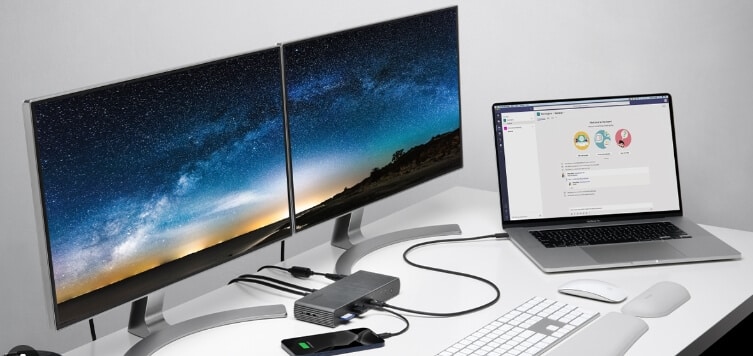
Modern MacBooks, including the MacBook Air and MacBook Pro, have transitioned to USB-C ports, also known as Thunderbolt 3 or Thunderbolt 4 ports. These ports are multifunctional, supporting charging, data transfer, and video output. However, they do not natively support HDMI, the standard interface used by most external displays. This is where a USB-C to HDMI solution comes into play. You can use either a USB-C to HDMI adapter or a USB-C to HDMI cable to connect your MacBook to an external display.
- Versatility: USB-C to HDMI adapters and cables allow you to connect your MacBook to a wide range of HDMI-compatible devices, including monitors, TVs, and projectors.
- High-Quality Output: Many adapters and cables support high resolutions, including 4K, providing clear and crisp visuals.
- Compact and Portable: USB-C to HDMI solutions are typically small and lightweight, making them easy to carry with your MacBook.
What You'll Need
To connect your MacBook to an external display using an HDMI cable, you’ll need the following:
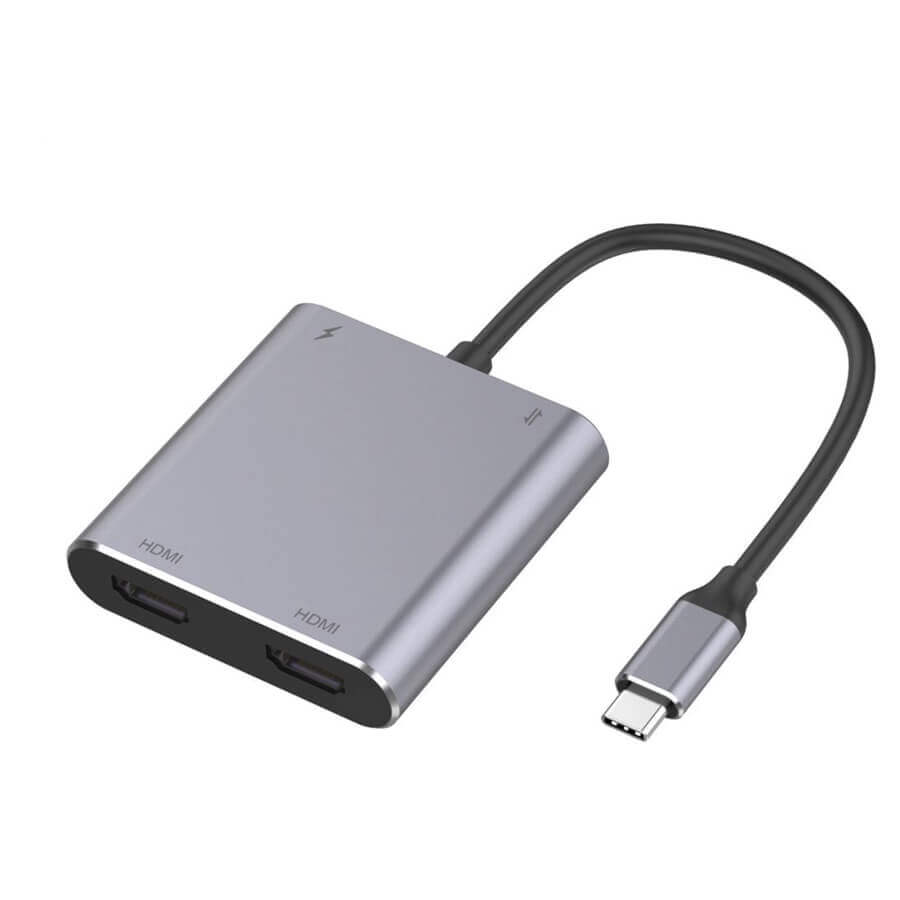
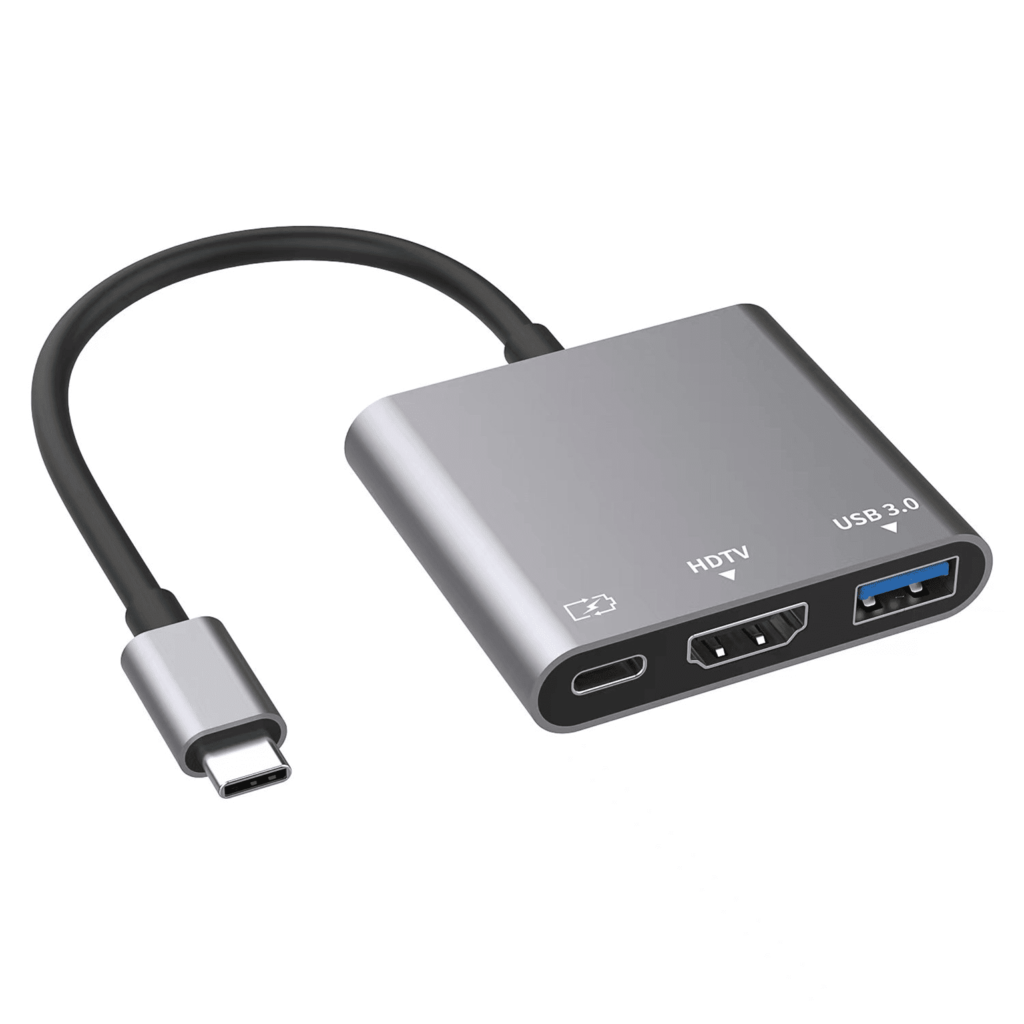
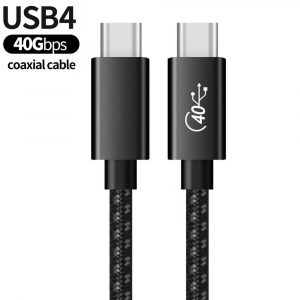
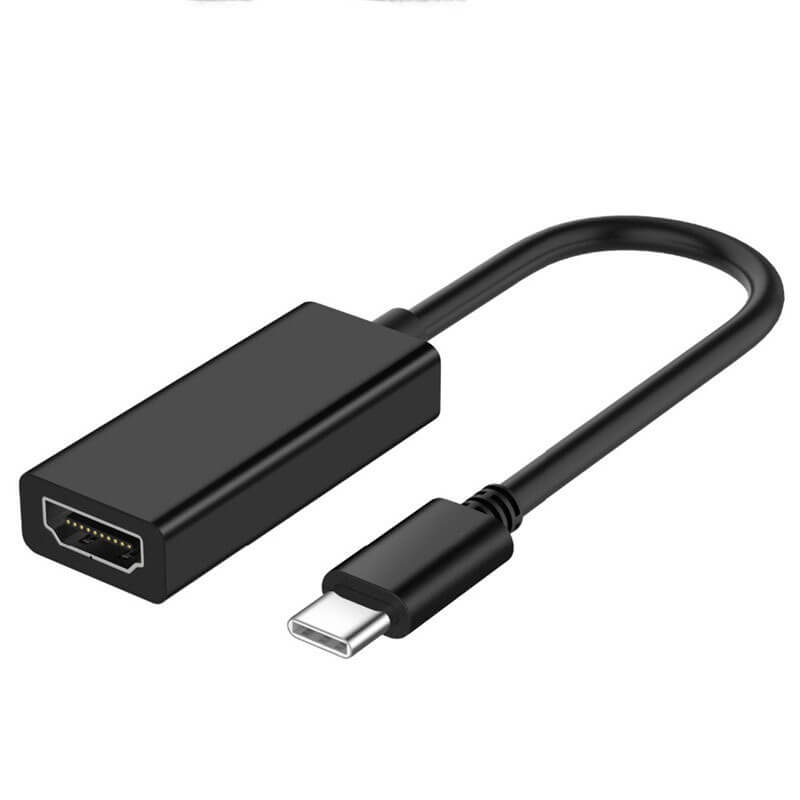
- USB-C to HDMI Adapter or USB-C to HDMI Cable: These convert the USB-C port on your MacBook to an HDMI port.
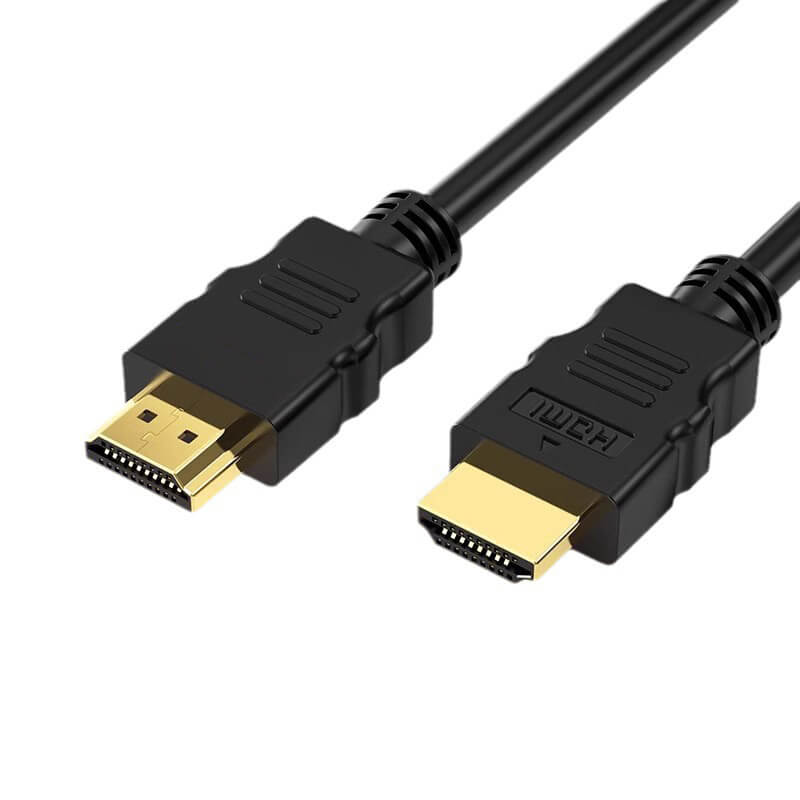
- HDMI Cable: The standard cable used to transmit video and audio signals from your MacBook to the external display.
- External Display: A device such as a monitor, TV, or projector with an HDMI input.
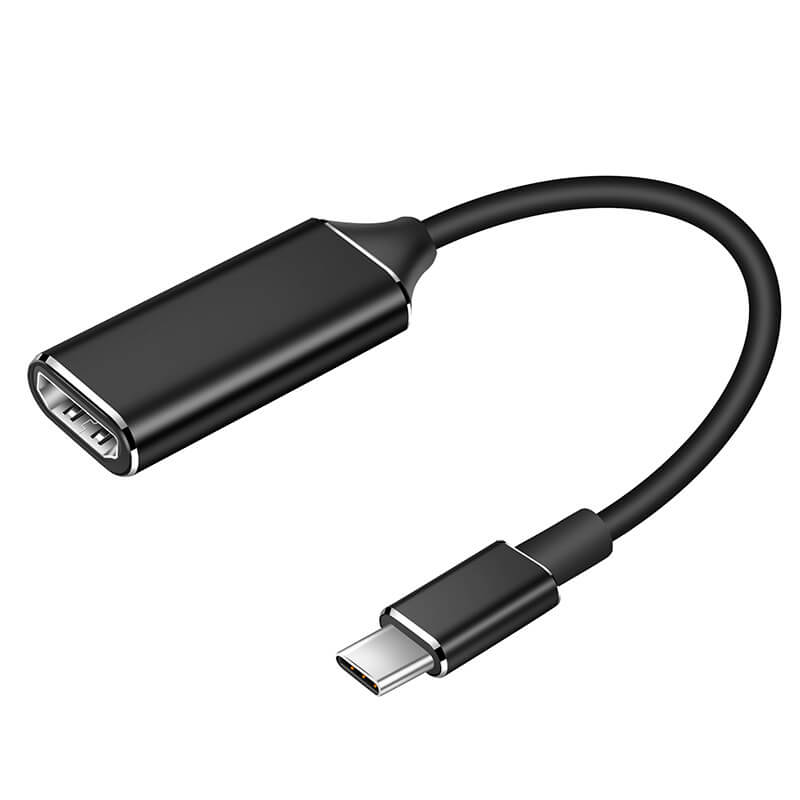
Solution 1: Using a USB-C to HDMI Adapter
Before diving into the setup process, it’s important to select the right USB-C to HDMI adapter. Here are some factors to consider:
- Resolution Support: Choose an adapter that supports at least 1080p (Full HD) or 4K resolution. If you plan to connect your MacBook to a 4K display, make sure the adapter can handle 4K at a high refresh rate (e.g., 60Hz).
- Additional Ports: Some adapters come with additional ports, such as USB-A, USB-C (for power delivery), or Ethernet. These multifunctional adapters can be especially useful if you need to connect multiple devices or accessories to your MacBook.
- Build Quality: Invest in a high-quality adapter from a reputable brand to ensure a stable connection and long-lasting performance.
- Compatibility: Ensure that the adapter is compatible with your specific MacBook model.
Step-by-Step Guide Using a USB-C to HDMI Adapter
Step 1: Connect the HDMI Cable to the Adapter
Begin by taking one end of the HDMI cable and plugging it into the HDMI port on the USB-C to HDMI adapter. Ensure the connection is secure to prevent any signal loss.
Step 2: Plug the Adapter into Your MacBook
Next, insert the USB-C connector of the adapter into one of the USB-C ports on your MacBook. Modern MacBooks typically have multiple USB-C ports, so you can choose any available one.
Step 3: Connect the HDMI Cable to the External Display
Plug the other end of the HDMI cable into the HDMI input port on your external display. Make sure the connection is snug and secure.
Step 4: Power On Your External Display
Turn on your external display and, if necessary, use the display’s remote or control panel to select the correct HDMI input source. Many displays automatically detect the input, but some may require manual selection.
Step 5: Configure Display Settings on Your MacBook
Once the connection is established, your MacBook should automatically detect the external display. You can adjust the display settings by going to System Preferences > Displays. Here, you can:
- Mirror Displays: This option duplicates your MacBook’s screen on the external display. This is useful for presentations or sharing content.
- Use as Separate Display: This option extends your workspace, allowing you to use the external display as an additional screen. You can drag windows and applications between the two displays.
- Adjust Resolution and Arrangement: You can customize the resolution and arrangement of the displays to suit your needs.
Solution 2: Using a USB-C to HDMI Cable
A USB-C to HDMI cable is another convenient solution that eliminates the need for a separate adapter. This cable features a USB-C connector on one end and an HDMI connector on the other, providing a direct connection between your MacBook and an external display.
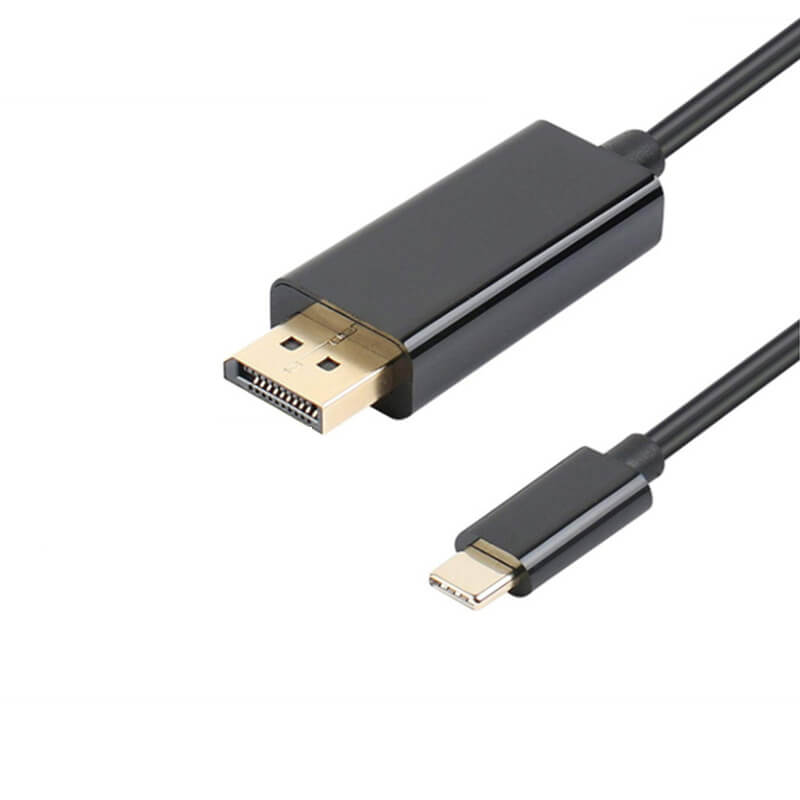
Choosing the Right USB-C to HDMI Cable
When selecting a USB-C to HDMI cable, consider the following:
- Cable Length: Choose a cable length that suits your setup, whether you need a short cable for a desktop monitor or a longer one for connecting to a TV across the room.
- Resolution and Refresh Rate: Ensure the cable supports the desired resolution and refresh rate, such as 4K at 60Hz, for the best visual experience.
- Build Quality: Opt for a durable cable with high-quality materials to prevent wear and tear.
Step-by-Step Guide Using a USB-C to HDMI Cable
Step 1: Connect the USB-C End to Your MacBook
Take the USB-C end of the cable and plug it into one of the USB-C ports on your MacBook.
Step 2: Connect the HDMI End to the External Display
Plug the HDMI end of the cable into the HDMI input port on your external display. Ensure the connection is secure.
Step 3: Power On Your External Display
Turn on your external display and select the correct HDMI input source if necessary. Some displays automatically detect the input, while others may require manual selection.
Step 4: Configure Display Settings on Your MacBook
Once connected, your MacBook should detect the external display. Adjust the display settings through System Preferences > Displays. You can choose to mirror or extend your display and customize the resolution and arrangement.
Common Issues and Troubleshooting Tips
While connecting your MacBook to an external display using a USB-C to HDMI adapter or cable is generally straightforward, you may encounter some common issues. Here are a few troubleshooting tips:
1. No Signal or Black Screen
- Check Connections: Ensure all cables and the adapter or cable are securely connected.
- Select Correct Input: Make sure the external display is set to the correct HDMI input.
- Restart Devices: Try restarting your MacBook and the external display.
- Update macOS: Ensure your MacBook is running the latest version of macOS, as updates can resolve compatibility issues.
2. Low Resolution or Poor Image Quality
- Check Adapter/Cable Specifications: Ensure your adapter or cable supports the desired resolution.
- Use High-Quality Cables: Low-quality HDMI cables can affect signal quality. Use a high-quality cable that supports high resolutions.
- Adjust Display Settings: Go to System Preferences > Displays and adjust the resolution settings.
3. External Display Not Detected
- Reconnect Adapter/Cable: Unplug and replug the adapter or cable to reset the connection.
- Check Compatibility: Ensure the adapter or cable is compatible with your MacBook model.
- Test with Another Display or Adapter/Cable: If possible, try connecting to a different display or using another adapter or cable to determine if the issue lies with the display, adapter/cable, or MacBook.
Advanced Tips for Power Users
For those who want to get the most out of their dual-display setup, here are some advanced tips:
1. Use Multiple Displays
If you have more than one external display, you can connect multiple USB-C to HDMI adapters or cables to your MacBook. This allows you to create a multi-monitor setup, ideal for multitasking or immersive workspaces.
2. Adjust Display Color and Calibration
To ensure consistent color and brightness across your displays, you can calibrate them by going to System Preferences > Displays > Color and selecting Calibrate. This is particularly useful for photo and video editing.
3. Optimize Audio Output
If your external display has built-in speakers, you can choose it as the audio output device. Go to System Preferences > Sound > Output and select your external display from the list.
4. Utilize Display Modes
Take advantage of different display modes, such as “Night Shift,” which adjusts the display’s color temperature for reduced eye strain in low light conditions. You can enable this by going to System Preferences > Displays > Night Shift.
Conclusion
Connecting your MacBook to an external display using a USB-C to HDMI adapter is a simple and effective way to expand your digital workspace, enjoy media on a larger screen, or enhance your presentations. By choosing the right adapter and following the steps outlined in this guide, you can easily set up your MacBook with any HDMI-compatible display. Remember to consider factors such as resolution support, build quality, and additional ports when selecting an adapter. Whether you’re a professional, student, or creative, mastering this connection will enhance your MacBook experience and boost your productivity.
Related Products
Wandkey Electronic Co.,Ltd is a specialized manufacturer of phone accessories, including MFI Certified iPhone Lightning Cables, USB Type-C Cables (2.0/3.0/3.1/3.2 Gen 2/USB4), Micro USB Cables, PD Fast Charging Gan Wall Chargers, Car Chargers, and more. Our products are UL/CE/RoHS/FCC/UKCA certified, ensuring the highest level of quality and safety. supports OEM/ODM service, printing logo, customized packaging, color, length, mould etc. Welcome to contact us get the quotation and samples for the test.
Any questions feel free to contact us, we would be happy to solve your issues
Top Topics
2024 Latest MFi Authorized Manufacturers list
Differences of Lightning Connector
How to check MFI Certification
How to get MFI Certification for Your Brand?
Why does the MFI Certified Lightning Cable so expensive?
MFI Product Packaging Requirement?
Disassemble MFI Lightning Cable
How do we guarantee the quality?
How to identify counterfeit or uncertified Lightning connector accessories
How to Choose Fast Charging Cable for Your Phone
How do I choose a USB-C cable?
Differences between USB 3.0 3.1 and 3.2
Test on USB C to USB C 3.1 Cable

